
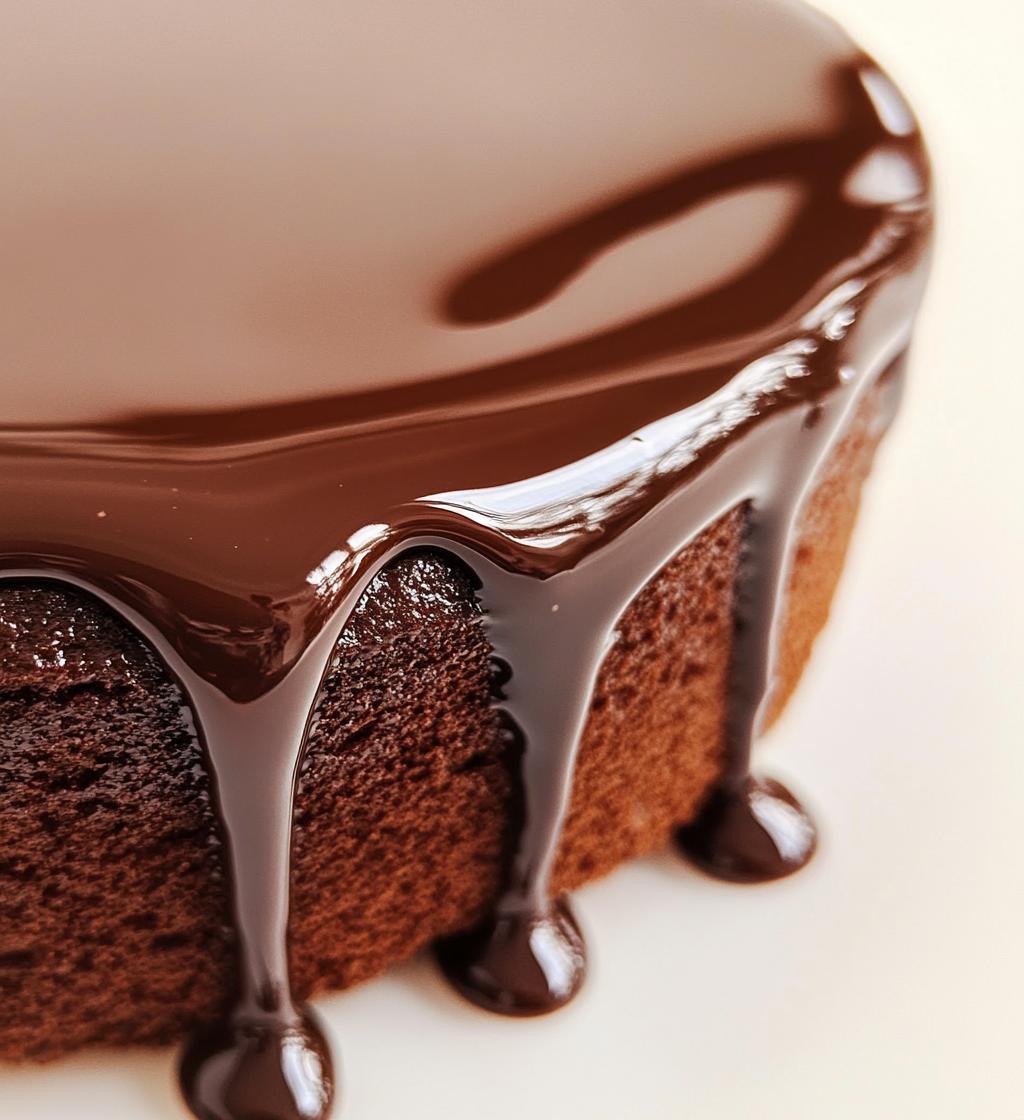
Oh my gosh, have you ever seen a dessert with that gorgeous, shiny chocolate mirror glaze and thought “I could never make that at home”? Trust me, I used to feel the same way until I discovered this ridiculously simple recipe. The first time I poured this glossy chocolate magic over a cake, I literally squealed – it looked like something from a fancy pastry shop! What I love most is how this chocolate mirror glaze transforms even the most basic desserts into showstoppers with minimal effort. My secret? It’s all about the perfect balance of chocolate, sugar, and just enough water to create that mirror-like shine. Now I use it on everything from birthday cakes to weekend treat-yourself cheesecakes!
Why You’ll Love This Chocolate Mirror Glaze Recipe
Let me tell you why this chocolate mirror glaze is about to become your new kitchen best friend. First off, that gorgeous shine? It’s like edible magic – one pour and suddenly your homemade dessert looks professionally decorated! And the best part? It’s so easy even my 10-year-old niece can make it (with supervision, of course). Here’s what makes it special:
- That perfect glossy finish that makes every dessert instantly Instagram-worthy
- Ready in just 20 minutes from start to finish – no fancy equipment needed
- Works on practically everything – cakes, cheesecakes, doughnuts, even ice cream!
- Only 5 simple ingredients you probably already have in your pantry
I swear, once you try this, you’ll want to glaze everything in sight. It’s that good!
Ingredients for Chocolate Mirror Glaze
Okay, let’s talk ingredients – and here’s the thing, quality REALLY matters with this glaze! I learned the hard way that skimping on chocolate gives you dull results. Here’s exactly what you’ll need:
- 150g dark chocolate (chopped – I use 70% cocoa for that perfect balance)
- 100g granulated sugar (regular white sugar works beautifully)
- 100ml water (just tap water is fine, no need for fancy stuff)
- 50g unsweetened cocoa powder (sifted – trust me, this prevents lumps!)
- 1 tsp pure vanilla extract (the good stuff makes all the difference)
See? Nothing weird or hard to find. Just simple ingredients that create magic when combined!
Equipment Needed for Chocolate Mirror Glaze
Don’t worry – you won’t need any fancy gadgets for this! Just grab these basic kitchen tools:
- Medium saucepan (for boiling the sugar mixture)
- Heatproof bowl (I use my trusty glass mixing bowl for melting chocolate)
- Whisk (a silicone one works great for smooth mixing)
- Fine-mesh sieve (this is my secret for ultra-smooth glaze)
That’s it! You probably have everything already sitting in your kitchen drawers.
How to Make Chocolate Mirror Glaze
Okay, let’s get to the fun part – making that gorgeous chocolate mirror glaze! I’ll walk you through each step because timing and temperature are everything here. Don’t worry, it’s way easier than it looks, but follow these steps closely for that perfect glossy finish.
Melting the Chocolate
First up – the chocolate! I always use a double boiler for this (just a heatproof bowl over a pot with 1-2 inches of simmering water). Chop your chocolate finely and melt it slowly, stirring occasionally. Whatever you do, don’t rush this step – overheating chocolate makes it grainy. You want it just melted and silky, about 3-4 minutes. Remove it from heat when there are still a few small chunks – they’ll melt from the residual heat.
Preparing the Sugar Mixture
While the chocolate melts, grab your saucepan for the sugar syrup. Whisk together the sugar, water, and sifted cocoa powder – sifting is key to avoid lumps! Bring it to a gentle boil over medium heat, stirring constantly with a whisk. You’ll know it’s ready when it thickens slightly – about 2 minutes of boiling. Pro tip: Wipe down the sides of the pan with a wet pastry brush to prevent sugar crystals.
Combining and Finishing the Glaze
Now for the magic! Slowly pour the hot sugar mixture into the melted chocolate while whisking constantly. Add the vanilla and keep whisking until it’s perfectly smooth and shiny. Here’s the important part – let it cool for about 5 minutes before pouring. You want it warm enough to flow smoothly but not so hot it melts your cake. I test by dripping some on my wrist – it should feel warm but not burning hot.
Tips for Perfect Chocolate Mirror Glaze
After countless glaze experiments (and a few kitchen disasters!), here are my foolproof tips: First, always strain your glaze through that fine-mesh sieve – it catches any stubborn cocoa lumps for that glass-smooth finish. If your glaze seems too thick, add warm water 1 teaspoon at a time, stirring well between additions. The perfect pouring temperature is when it coats the back of a spoon but still drips off slowly. Too hot? It’ll run everywhere. Too cool? It’ll set too fast and look uneven. Trust me, nailing this timing makes all the difference!
Variations of Chocolate Mirror Glaze
Oh, the fun you can have with this basic recipe! My favorite way to play with it is adding 1 tsp instant espresso powder – it deepens the chocolate flavor beautifully without making it taste like coffee. For a sweeter twist, swap the dark chocolate for milk chocolate (just reduce the sugar slightly). Feeling fancy? A pinch of sea salt or orange zest creates amazing flavor layers. The possibilities are endless!
Serving Suggestions for Chocolate Mirror Glaze
Oh, let me tell you about all the delicious ways to use this glaze! My absolute favorite is pouring it over chilled cheesecake – that smooth, cool surface makes the glaze set like glass. But don’t stop there! Try it on:
- Classic chocolate or vanilla cakes (makes even box mix taste fancy!)
- Fresh doughnuts for a bakery-worthy breakfast treat
- Simple pound cake slices – instant dessert upgrade
For extra wow factor, top with fresh berries right after pouring – the glaze sets around them like edible jewels. My mouth’s watering just thinking about it!
Storing Chocolate Mirror Glaze
Got leftover glaze? No problem! Just store it in an airtight container in the fridge for up to 3 days. When you’re ready to use it again, gently reheat in short bursts in the microwave or over a double boiler, stirring until smooth. Easy peasy!
Nutritional Information for Chocolate Mirror Glaze
Here’s a quick breakdown per tablespoon: about 60 calories, 3g fat, and 8g sugar. Remember, these are estimates – actual values may vary depending on your ingredients and brands used.
FAQs About Chocolate Mirror Glaze
Can I use milk chocolate instead of dark? Absolutely! Just reduce the sugar by about 20g since milk chocolate is sweeter. I’ve done this for kids’ parties – it makes a gorgeous lighter brown glaze that’s slightly sweeter.
Help! My glaze turned out lumpy! Don’t panic! Just strain it through a fine-mesh sieve while warm. If it’s already cooled, gently reheat with a splash of hot water and whisk like crazy. I’ve saved many a glaze this way!
Any vegan substitutes? Yes! Swap the dark chocolate for vegan chocolate chips and use maple syrup instead of sugar (reduce to 80ml). The texture will be slightly different but still shiny and delicious. My vegan sister swears by this version!
Why isn’t my glaze shiny? Usually this means it got too hot or wasn’t whisked enough. Next time, remove from heat sooner and whisk until your arm gets tired – that glossy finish is worth it!
Share Your Chocolate Mirror Glaze Creations
I’d absolutely love to see what you create with this glaze! Snap a pic and tag me – nothing makes me happier than seeing your glossy masterpieces. Did you try any fun variations? Leave a comment below and let’s swap glaze stories!
Print
20-Minute Chocolate Mirror Glaze – Easy & Stunning!
- Total Time: 20 mins
- Yield: 1 cup 1x
- Diet: Vegetarian
Description
A glossy chocolate glaze perfect for cakes and desserts.
Ingredients
- 150g dark chocolate
- 100g sugar
- 100ml water
- 50g cocoa powder
- 1 tsp vanilla extract
Instructions
- Melt the dark chocolate in a bowl over simmering water.
- In a saucepan, mix sugar, water, and cocoa powder. Bring to a boil.
- Remove from heat and stir in the melted chocolate.
- Add vanilla extract and mix well.
- Pour the glaze over your cooled cake or dessert.
Notes
- Use high-quality chocolate for best results.
- Let the glaze cool slightly before pouring.
- Store leftovers in an airtight container.
- Prep Time: 10 mins
- Cook Time: 10 mins
- Category: Dessert
- Method: Stovetop
- Cuisine: International
Nutrition
- Serving Size: 1 tbsp
- Calories: 60
- Sugar: 8g
- Sodium: 2mg
- Fat: 3g
- Saturated Fat: 2g
- Unsaturated Fat: 1g
- Trans Fat: 0g
- Carbohydrates: 9g
- Fiber: 1g
- Protein: 1g
- Cholesterol: 0mg
Keywords: chocolate glaze, mirror glaze, dessert topping


